


Imagine stepping into your backyard and seeing a clutter-free oasis where every toy has a home. Sounds dreamy, right?
Building an outdoor toy box isn't just about organization; it's about creating a space that sparks joy for your little ones while giving you peace of mind. Picture your kids happily playing with their favorite toys, knowing exactly where to find them and where to put them back.
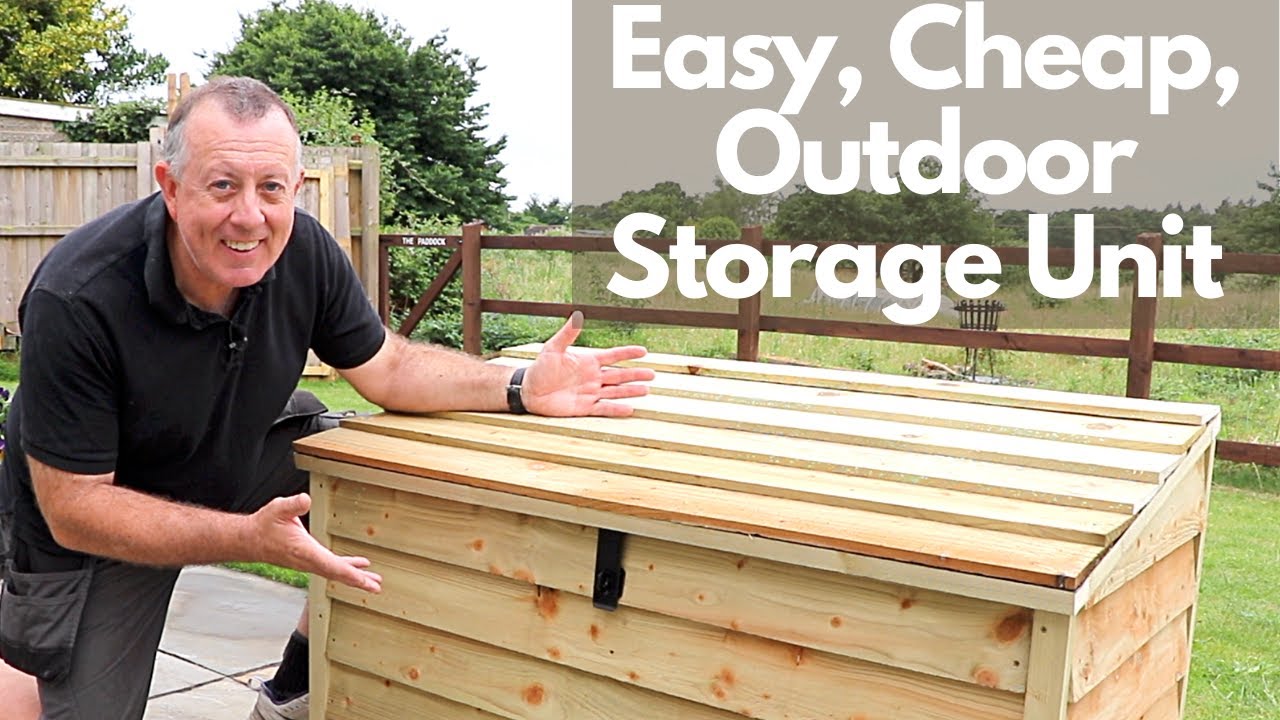
It's easier than you think to transform your outdoor space into a neat, accessible, and fun area. This article will show you how to build a sturdy, weather-resistant toy box that will last for years. You'll discover simple steps to create a storage solution that blends seamlessly with your outdoor decor. Whether you're a DIY enthusiast or a beginner, you'll find practical tips and tricks to make this project a breeze. Let's dive in and turn your backyard into a place of both fun and order. Are you ready to unlock the secret to a tidy and playful outdoor space? Let's get started!

Credit: www.youtube.com
Materials Needed
Building an outdoor toy box is a fun and rewarding project. Having the right materials is key to success. Gather quality materials for durability and safety. Let's explore the essential items you'll need for this project.
Wood
Choose weather-resistant wood like cedar or treated pine. These types resist rot and pests. Ensure the wood is smooth to avoid splinters.
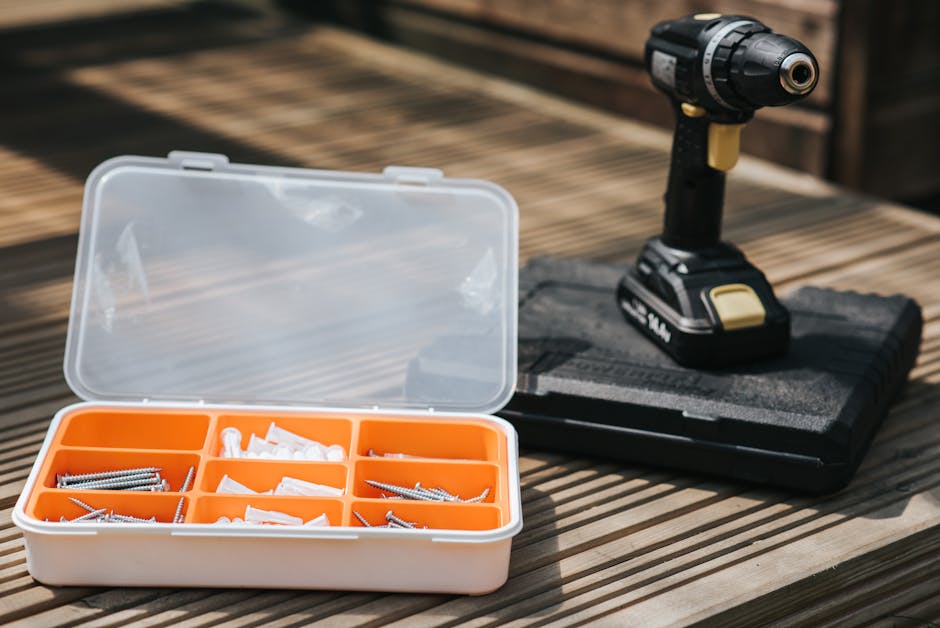
Screws And Nails
Use galvanized screws and nails. They prevent rust and ensure longevity. Keep a variety of sizes on hand for different parts.
Hinges
Select sturdy hinges for the toy box lid. Consider slow-close hinges for safety. They prevent the lid from slamming shut.
Wood Glue
High-quality wood glue adds strength to joints. It's essential for reinforcing corners. Ensure it's waterproof for outdoor use.
Paint Or Stain
Choose outdoor paint or stain to protect the wood. It adds color and prevents weather damage. Pick non-toxic options for child safety.
Sandpaper
Use sandpaper to smooth rough edges. It ensures a safe surface for children. Start with coarse grit, then use fine grit for finishing.
Measuring Tape And Square
Accurate measurements are crucial for a perfect fit. A square ensures precise angles. These tools help maintain symmetry and balance.
Drill And Saw
A drill creates holes for screws. A saw cuts wood to size. Both tools are necessary for assembly.
With these materials, you're ready to build a durable toy box. Enjoy the process of crafting something special.

Credit: www.lemonthistle.com
Choosing The Right Location
Selecting an ideal spot for your outdoor toy box ensures safety and convenience. Choose a flat, dry area away from direct sunlight. This helps protect the toys from damage and makes playtime more enjoyable for children.
Choosing the right location for your outdoor toy box is crucial for maximizing its utility and lifespan. An ideal spot not only keeps toys organized but also blends seamlessly with your yard's aesthetics. Before picking a location, consider factors like accessibility, safety, and exposure to elements. This choice can make or break your outdoor toy storage solution.
Assess Accessibility
Locate your toy box where it's easy for kids to access. This encourages them to play outdoors and tidy up afterwards. Think about paths kids naturally take when running around your yard. If your box is easily reachable, it adds convenience and encourages regular use.
Evaluate Safety
Safety is paramount. Choose a location away from potential hazards like pools or driveways. Ensure the spot is well-lit and free from sharp objects or thorny plants. Reflect on your own experiences: would you want your little ones playing in a shaded corner that you can't see from the kitchen window? Prioritize visibility.
Consider Weather Exposure
Outdoor furniture must withstand varying weather conditions. Place your toy box under partial shelter or near a tree that provides shade. This protects it from rain and intense sun, prolonging its life. If you’ve had furniture warp or fade prematurely, you know the importance of thoughtful placement.
Analyze Your Yard's Layout
Every yard is unique. Take time to observe its flow and energy. Does one area naturally gather more family activity? Positioning your toy box in the heart of action fosters interaction and play. Picture your yard during a family barbecue — where do people naturally gather? That spot might be perfect.
Maximize Aesthetic Appeal
Integrate your toy box into the landscape. Choose a location that complements existing features, like a garden or deck. A visually pleasing arrangement enhances your yard's beauty and encourages more outdoor time. Remember, aesthetics matter: it’s not just about function.
Reflect On Seasonal Changes
Seasons affect outdoor space usage. Consider how your yard changes throughout the year. Will snow accumulate around the toy box in winter? Will leaves clutter it in fall? If you’ve ever had to shovel snow away from outdoor items, you’ll appreciate forward-thinking placement. Choosing the right location for your outdoor toy box involves more than just finding a spot. It's about enhancing the space while ensuring safety and usability. Which of these factors do you find most important when planning your yard layout?
Design Ideas
Craft a sturdy outdoor toy box with simple materials and tools. Choose weather-resistant wood for durability. Add a hinged lid for easy access. Personalize with bright paints or stencils to delight children.
Designing an outdoor toy box is a rewarding project that combines function with creativity. You want something that not only stores toys but also adds charm to your outdoor space. Whether you prefer a simple look or a more imaginative design, there are plenty of ideas to inspire you. Let's dive into some design ideas that will have you eager to start your project.
Simple Designs
If you lean towards minimalism, a basic wooden toy box might be your go-to option. A straightforward rectangular box with a sturdy lid serves the purpose well. It’s easy to build and can be painted in neutral colors to blend seamlessly with any outdoor setting. Consider using treated wood to withstand the weather. Adding wheels can make it easy to move around, especially if you have a large yard. You might even add a bench cushion on top for extra seating.
Creative Options
Feeling adventurous? Transform your toy box into a pirate ship or a castle. This can be a fun weekend project that involves the whole family. Not only does it store toys, but it also becomes a part of playtime. Think about adding a chalkboard on one side of the box for creative doodles. You could paint it in bright, engaging colors that will entice kids to use it. Adding small details like faux windows or sails can bring the design to life. Which design resonates with your style? Perhaps a mix of both simple and creative? Personal touches make all the difference. Your unique design might just become the neighborhood talk.
Tools Required
Building an outdoor toy box is a fun and rewarding project. Before starting, gather the necessary tools. This ensures a smooth and efficient building process. Using the right tools saves time and effort. It also ensures safety and precision.
Essential Hand Tools
Hand tools are fundamental for any DIY project. A tape measure helps with accurate measurements. A pencil is useful for marking cuts. A carpenter's square ensures straight lines. A hand saw or jigsaw is needed for cutting wood. A sanding block smooths rough edges.
Power Tools Needed
Power tools make tasks quicker and easier. A power drill is essential for drilling holes. It also helps in driving screws into wood. A circular saw is perfect for cutting large pieces of wood. An electric sander provides a smooth finish. Use these tools with care to avoid accidents.
Safety Equipment
Safety should always be a priority. Wear safety goggles to protect your eyes. Use ear protection if using loud tools. Gloves protect hands from splinters and sharp edges. A dust mask keeps you from inhaling sawdust. Always work in a well-ventilated area.
Measuring And Marking Tools
Accurate measurements are crucial for a good fit. A tape measure is a must-have. A ruler or straight edge helps with drawing lines. Use a carpenter's pencil for precise marking. A level ensures the toy box is even. These tools help achieve a professional look.
Fastening Tools
Fastening tools hold your project together. A power drill with screwdriver bits is vital. It helps in fastening screws securely. A hammer may be needed for nails. Wood glue provides extra bonding strength. These tools ensure your toy box is sturdy and durable.
Step-by-step Construction
Building an outdoor toy box is a fun project. It keeps your yard tidy. Kids love having a special place for their toys. This guide makes the process simple. Follow these steps for a sturdy, attractive toy box.
Preparing The Materials
First, gather all necessary tools and materials. You'll need wood, screws, and hinges. Choose weather-resistant wood for longevity. Popular choices are cedar and treated pine. Measure and cut your wood according to your design plan. Double-check measurements for accuracy. This ensures all pieces fit together well.
Building The Base
Start with the base of the toy box. Lay out the bottom panel. Attach the side panels to the bottom using screws. Ensure the sides are square. A carpenter's square is helpful for this. This step gives your toy box a strong foundation.
Creating The Walls
Next, build up the walls of the box. Secure the front and back panels to the base. Use screws for a sturdy hold. Ensure all sides are even. This prevents gaps and keeps toys safe inside. Reinforce corners with brackets if needed.
Adding The Lid
The final step is the lid. Cut a panel for the top of the box. Attach it with hinges to the back panel. Consider adding a handle for easy opening. Use a slow-close hinge for safety. It prevents the lid from slamming shut.
Credit: www.youtube.com
Safety Tips
Building an outdoor toy box can be a rewarding DIY project. However, safety should be a top priority. Ensuring your toy box is safe for kids is crucial. This section provides essential safety tips. Following these will help prevent accidents and injuries.
Sturdy Construction
Ensure the toy box is built with strong materials. Use wood like cedar or pine. These woods are durable and resistant to weather. Check that all joints are tightly secured. Loose parts can cause accidents. Use screws instead of nails for better stability.
Non-toxic Paints And Finishes
Choose non-toxic paints for your toy box. Kids often touch and taste everything. Ensure the paint is child-safe and lead-free. Look for water-based paints. They are safer for children and the environment.
Rounded Edges
Sharp edges can cause injuries. Sand all edges to round them off. Use a router for smooth, rounded corners. This reduces the risk of cuts and bruises. Kids play rough and need a safe environment.
Secure Lid With Safety Hinge
Install a safety hinge on the lid. This prevents it from slamming shut. Safety hinges hold the lid open at any position. It stops sudden falls that might trap little fingers. A slow-closing hinge is a good choice.
Proper Ventilation
Ensure the toy box has ventilation holes. This is important if kids climb inside. Ventilation prevents suffocation. Drill small holes on the sides or back. This allows air circulation and keeps contents dry.
Weight And Size Considerations
Keep the toy box size appropriate for your child’s age. A too-large box can be dangerous. Ensure it's not too heavy for kids to handle. They should be able to open and close it easily. This promotes independent play and safety.
Finishing Touches
The finishing touches on your outdoor toy box add charm and durability. These final steps ensure your project is both beautiful and long-lasting. Let's explore how painting, decorating, and weatherproofing enhance your creation.
Painting And Decorating
Choose vibrant colors to make the toy box eye-catching. Bright paints can attract children and spark joy. Use non-toxic, water-based paints for safety. Stencils can add fun designs like stars or animals. Personalize the box with your child's name for a special touch. Ensure each coat of paint dries completely before applying the next.
Weatherproofing
Outdoor toy boxes face sun, rain, and wind. Protect your box with a weatherproof sealant. This prevents water damage and extends the life of the wood. Apply a clear, UV-resistant finish to guard against sun fading. Check for gaps or cracks and seal them properly. This keeps moisture out and toys safe inside.
Maintenance Advice
Crafting a sturdy outdoor toy box requires careful planning and execution. Begin with choosing weather-resistant materials like treated wood or plastic. Assemble using basic tools, ensuring all parts fit well for durability and safety.
Maintaining your outdoor toy box is crucial to ensure it lasts for years and keeps your children's toys safe and clean. Neglecting maintenance can lead to damage from weather, pests, and general wear and tear. By dedicating a little time and effort, you can keep your toy box in excellent condition. Here’s how you can do it.
Regular Cleaning
Regular cleaning is essential. Dust and debris can accumulate over time, especially if the toy box is left open. Use a damp cloth to wipe down the surfaces and remove any dirt or grime. A mild detergent can help with stubborn stains. Be sure to rinse thoroughly and let it dry completely to avoid mold.
Protective Finishes
Consider applying a protective finish to your toy box. A weather-resistant sealant can help protect against rain and sun damage. This is particularly important if your toy box is made of wood. Check the finish every few months. If it looks worn, reapply to keep the box looking fresh and new.
Inspect For Damage
Inspect your toy box regularly for any signs of damage. Look for cracks, loose screws, or other potential hazards that could harm your kids or their toys. Repair any damage immediately. A small fix now can prevent bigger problems later.
Pest Prevention
Keep pests at bay by ensuring the toy box is properly sealed. Check for any gaps or holes where insects or small animals might enter. Consider using natural pest repellents. Cedar blocks or sachets with essential oils can deter pests without harmful chemicals.
Seasonal Adjustments
Think about how the seasons affect your toy box. In winter, consider moving it to a more sheltered spot to protect it from harsh weather. During the rainy season, ensure the box is elevated to prevent water from pooling around it. These small adjustments can extend the life of your toy box significantly.
Engage With The Kids
Get your kids involved in the maintenance. They can help with cleaning or checking for damage. This not only makes the task more fun but also teaches them the value of taking care of their belongings. What maintenance tasks do you already do? Are there any you could add to keep your outdoor toy box in top shape?
Frequently Asked Questions
What Materials Do I Need For An Outdoor Toy Box?
To build an outdoor toy box, you'll need durable materials like treated wood, outdoor screws, and weather-resistant paint. Consider adding wheels for mobility and hinges for easy access. Choose materials that withstand outdoor elements to ensure longevity and protection for toys stored inside.
How Do I Ensure The Toy Box Is Weatherproof?
To weatherproof your toy box, use treated wood and seal all surfaces with a waterproof varnish. Ensure all joints are tightly secured to prevent water ingress. Regularly inspect and maintain the finish to keep it resistant to rain, sun, and humidity.
Can I Add A Lock To The Toy Box?
Yes, adding a lock enhances security for your outdoor toy box. Install a sturdy latch and padlock to prevent unauthorized access. Ensure the lock mechanism is rust-resistant for durability. This feature keeps toys safe from theft or animals.
What Are The Dimensions For An Ideal Toy Box?
An ideal toy box typically measures around 3 feet long, 2 feet wide, and 2 feet high. Adjust dimensions based on your space and toy collection size. Ensure it's spacious enough for toys but compact for outdoor placement. Consider accessibility for children.
Conclusion
Building an outdoor toy box is a rewarding project. It keeps toys organized and safe from weather. Choose durable materials for long-lasting use. Follow simple steps for a neat, sturdy box. Customize it with paint or stickers for fun. Involve children in the process for creativity.
Enjoy more outdoor playtime with less clutter. A well-built toy box adds value to your yard. It makes playtime accessible and tidy. Start today and create a space for happy memories. Happy building!


